
Refari
Search Bar Widget - How to install it and the customisation available
https://help.refari.work/knowledge-base/article/search-bar-widget-how-to-install-it-and-the-customisation-available
Installing our Widgets with Elementor is quick and easy and no real coding knowledge is required.
I'm going to install the Search Bar Widget on the Home page. Once I've navigated to the page I wish to install it and chosen to edit with Elementor, I simply need to create a new section.
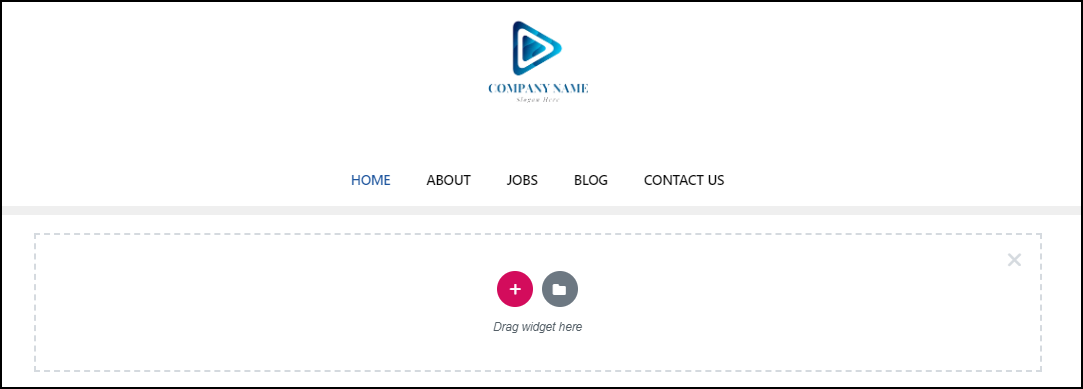
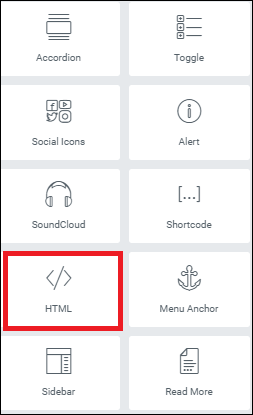
On the left hand side we have lots of different options and we need to scroll down to the HTML section and drag it over to where it says 'Drag widget here'
The HTML section looks like this:
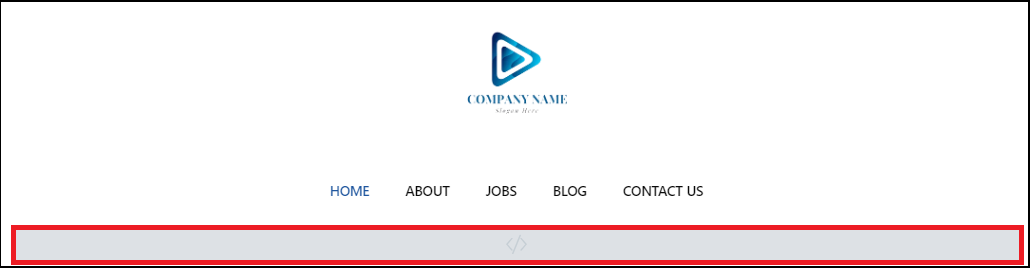
Once dragged across you will see a grey bar with this symbol inside </>. Click in this grey box.
This is where we will paste the Widget code.
The widget code is available for Admin and Managers in their Refari account via Refari.co . When logged in, you will see all the side navigation pages.
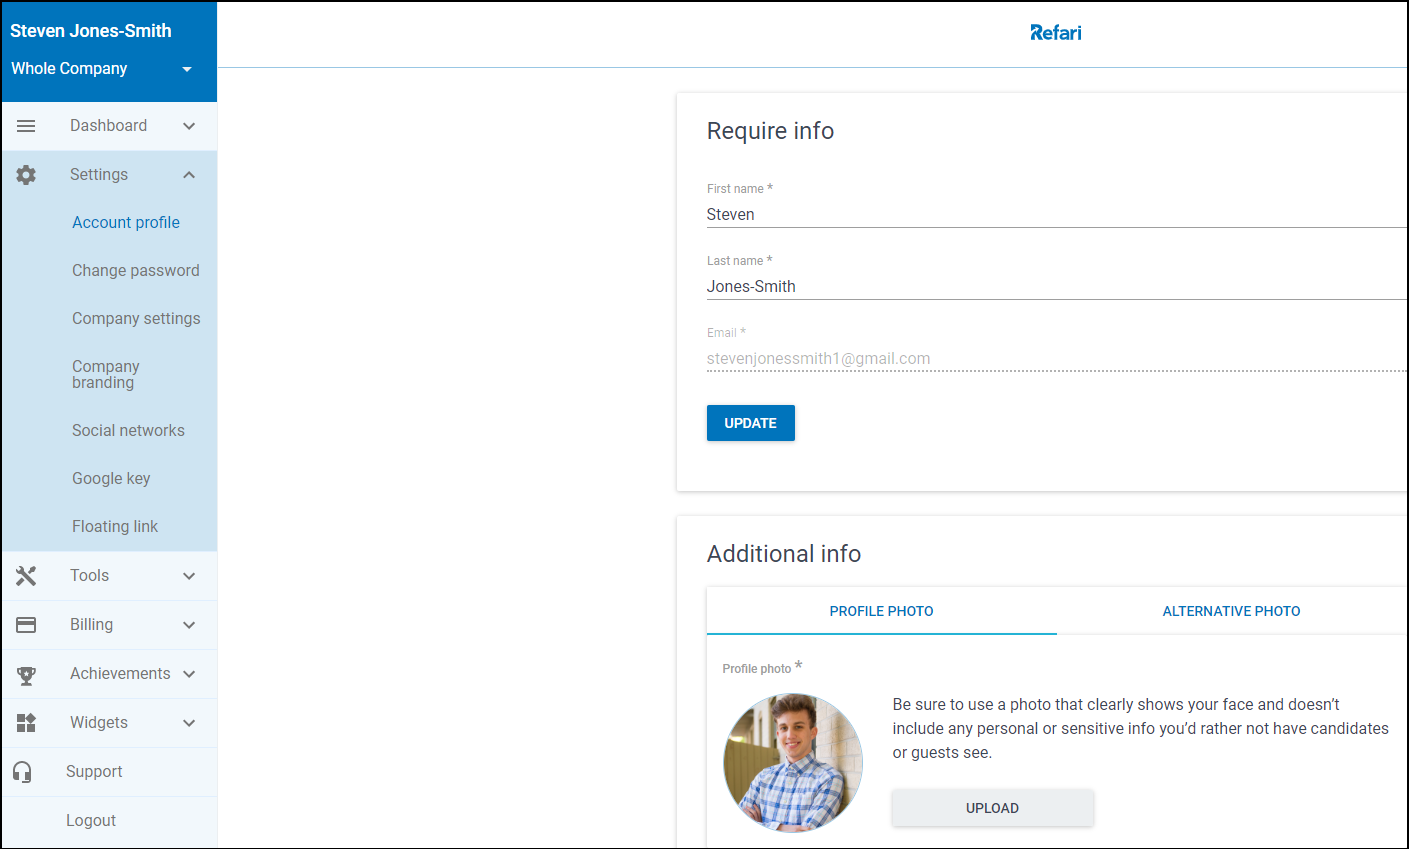
You need to click on Widgets and then the widget you wish to install, in this case 'Search Bar'
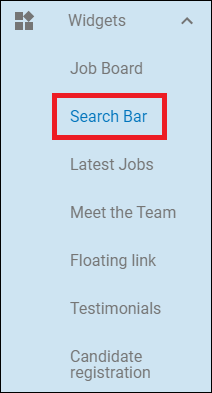
In the centre you will see an example Search Bar layout and you can scroll down to the 2 buttons Copy and Copy All. Because we are using Elementor, we are able to click on COPY ALL
Clicking on COPY ALL will change this to COPIED!
With this code now copied to our clipboard we can switch back to the Webpage we were editing with Elementor and having clicked on the grey bar with this sign in </>, we can see the HTML Code on the left hand side.
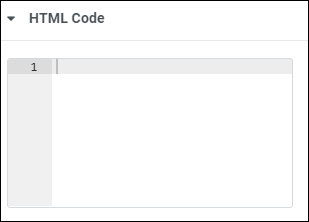
In this box we can simply click and press Control (CTRL) and V to paste the clipboard code. A preview of how the Candidate Registration will look, will appear in your webpage on the right hand side.
You can then click update and the widget is installed and on the page that you were editing.
The Widget Customisations - UPDATED September 2022
Branding Colours applied

optionalFields
By default all 3 fields of Keywords, All Categories and All Locations search options will show. Simply remove either 'category' or 'location' if you do not wish to have one/both of these included on your Search Bar widget.
For the below we are using #fc3d03 as an example colour so to stand out and make it clear what is changing.
themePalette
Whilst this can be customised, we recommend using the Company Branding setup. Here's how: How to set up your Company Branding
primary1Color
This changes the colour of the backgrounds for the 'Keywords', 'All categories' and 'All locations' boxes AND the text for the 'Search Jobs' button

textColor
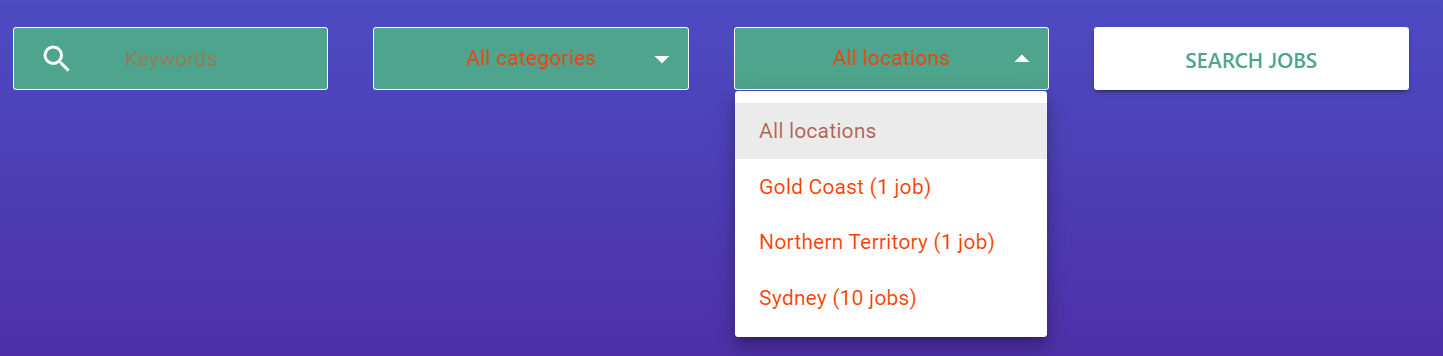
This changes the colour of the text of the 'Keywords', 'All categories' and 'All locations' boxes AND the text from the dropdowns.
hoverTextColor (New from September 2022)
This changes the colour of the text of the 'Keywords', 'All categories' and 'All locations' boxes WHEN hovering over them.

backgroundColor (New from September 2022)
This changes the colour of the backgrounds of the 'Keywords', 'All categories' and 'All locations' boxes but NOT the 'Search Jobs Button'.

hoverBackgroundColor (New from September 2022)
This changes the colour of the backgrounds of the 'Keywords', 'All categories' and 'All locations' boxes WHEN hovering over them.

buttonTextColor (New from September 2022)
This changes the colour of the text on the 'Search Jobs' button.

hoverButtonTextColor (New from September 2022)
This changes the colour of the text on the 'Search Jobs' button WHEN hovering.

buttonBackgroundColor (New from September 2022)
This changes the colour of the background on the 'Search Jobs' button.

hoverButtonBackgroundColor (New from September 2022)
This changes the colour of the background on the 'Search Jobs' button WHEN hovering.

iconColor(New from September 2022)
This changes the colour of the icon (magnifying glass).

hoverIconColor (New from September 2022)
This changes the colour of the icon (magnifying glass) WHEN hovering.

placeholderColor (New from September 2022)
This changes the colour of the text of the 'Keywords', 'All categories' and 'All locations' boxes but not the dropdowns.
buttonBorderRadius
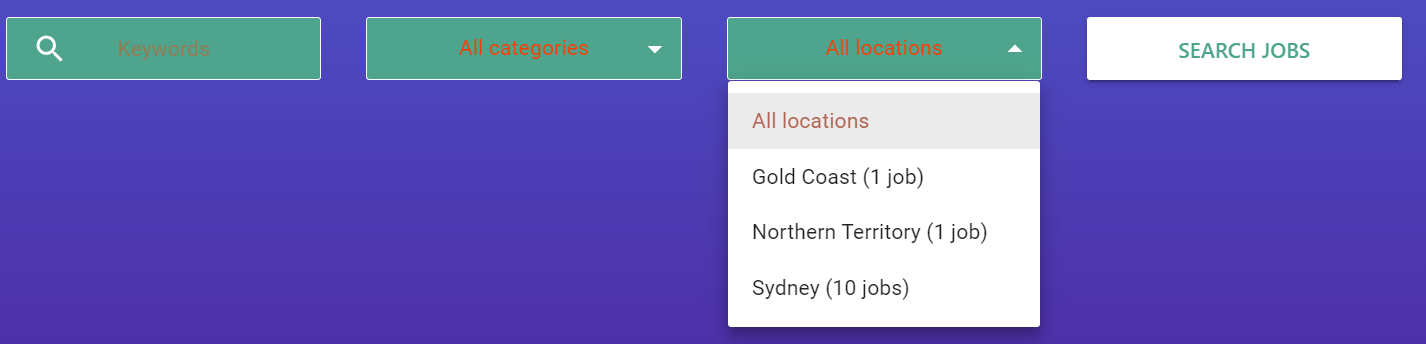
This is how rounded the boxes are. The greater the number entered, the greater the rounding.
Example: Button border radius set to 10

hoverColour
This changes the colour of the background of the 'Keywords', 'All categories' and 'All locations' boxes when hovering over.

hoverTextColour
This changes the colour of the text of the 'Keywords', 'All categories' and 'All locations' boxes AND 'Search Jobs' button when hovering over.

searchDesign
Whilst you can install a widget using the code from the Dashboard, if you have made some customisations and don't want to lose it all but do want to change Widget design then you can simply change this number to the relevant design number. This can either be 1, 2 or 3.
boxHeight
This changes the height of the boxes. By default it is set to 42 but we can increase or decrease the height by changing this number. In this example, I've changed the number to 60.

textAlign
This changes alignment of the Keywords search text. In this example, I've set it to left aligned

baseUrl-
This is explained in its own Helpdesk article which can be read here: What is the BaseUrl and how we can use it?